Embed a PDF viewer in your Squarespace website with CloudPDF
We will walk through a few simple steps to embed the CloudPDF viewer in your Squarespace website. If you didn't create a CloudPDF account yet, create your account on the CloudPDF website.
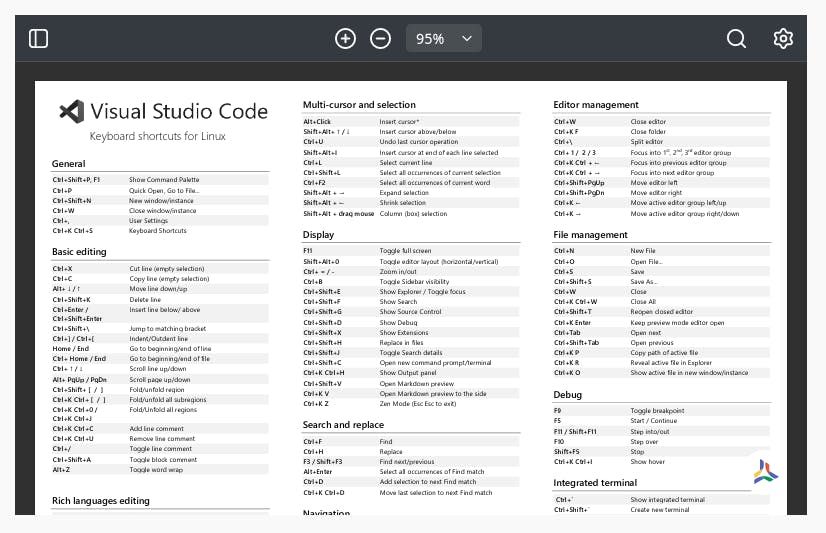
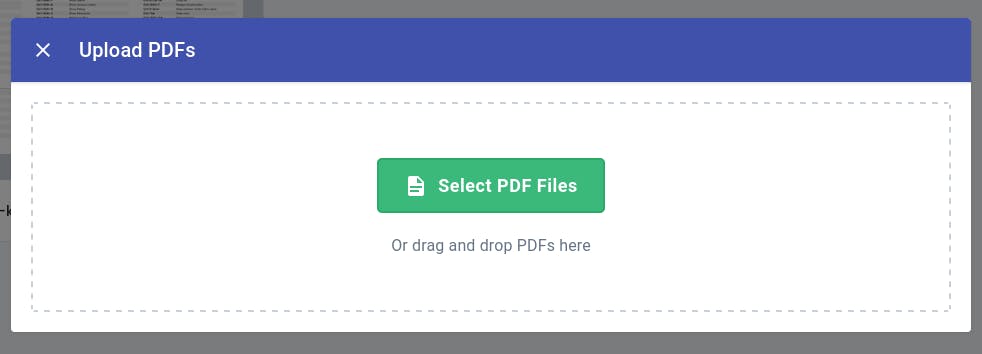
- Click on the new button and upload your first PDF file to CloudPDF.
- After the PDF is successfully uploaded, right-click on the file to open the context menu. Click on the Embed in website button.
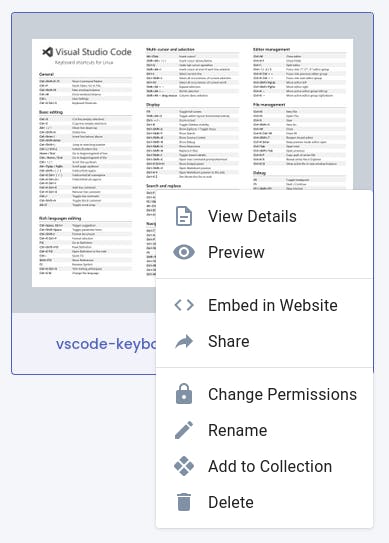
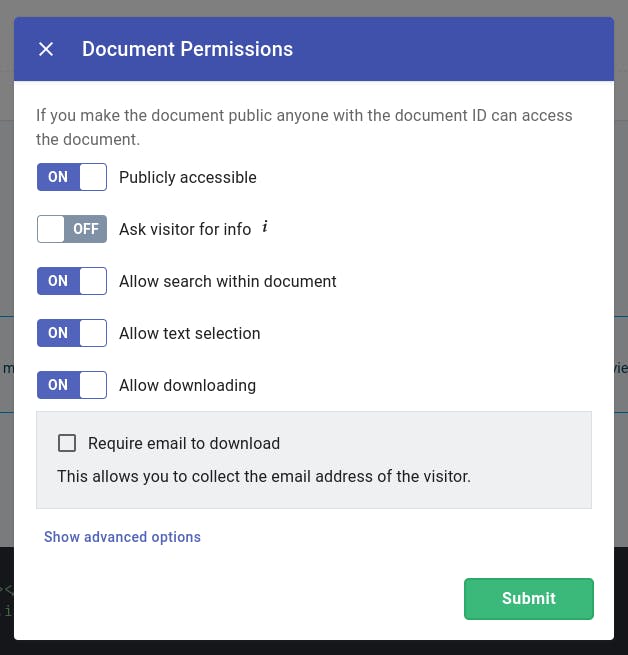
- Now click on the change permission button and make the document public.

- Toggle the publicly accessible button. This will make the PDF document visible to every visitor on your website.
- Copy the HTML snippet. You will use this snippet to display the uploaded PDF document on your Squarespace website.
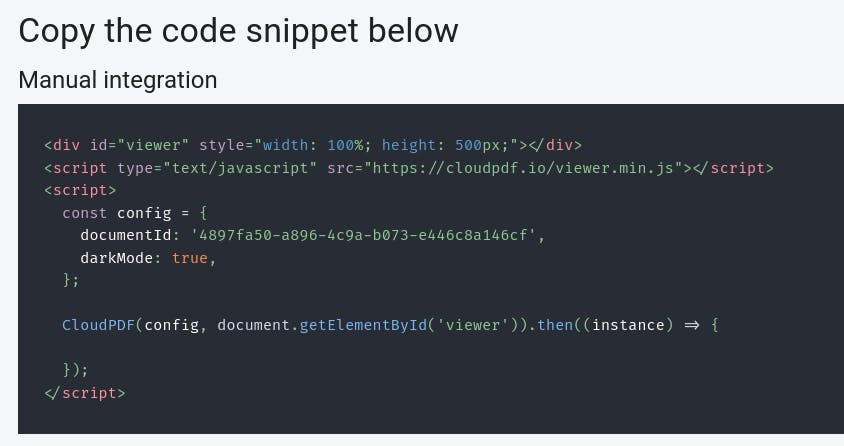
- Log back into your Squarespace website and click "edit" on the page where you want to add the PDF viewer.
- Now click the "+" icon and select "Embed". Then click on the right icon in the input box that says "Embed Data" and copy the viewer code into the text area. Make sure to change the width in the snippet to "100%" so that the viewer will be responsive.
Note: after you added the embed data you might see in Squarespace editor the message "Script disabled." You can ignore this message and save the page. Once the page is saved and you preview it, you will see that the viewer is rendered successfully. The message appears because Squarespace does not allow for external javascript to be executed while in "edit" mode
- You will see that the CloudPDF viewer is ready to use.