Embed a PDF viewer in a Blogger post with CloudPDF
We will walk through a few simple steps to embed the CloudPDF viewer in your Blogger website. If you didn't create a CloudPDF account yet, you can start by creating your account.
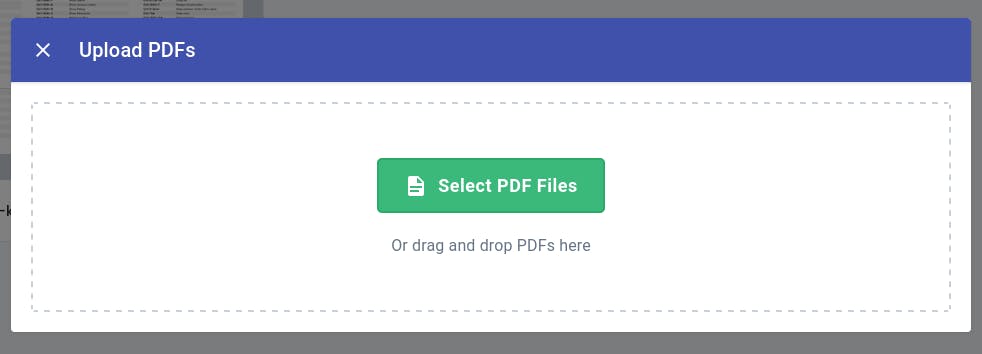
- When you are in your CloudPDF dashboard click on the "new" button and upload your first PDF file.
- After the PDF is successfully uploaded, right-click on the file to open the context menu. Click on the Embed in website button.
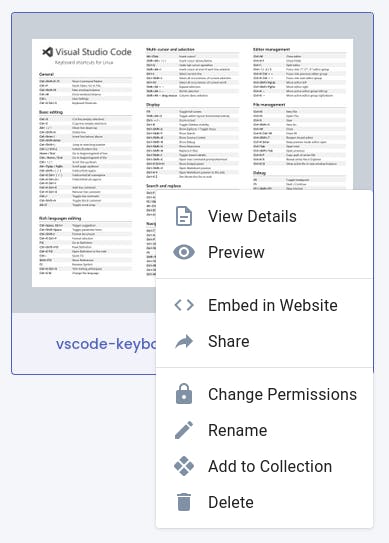
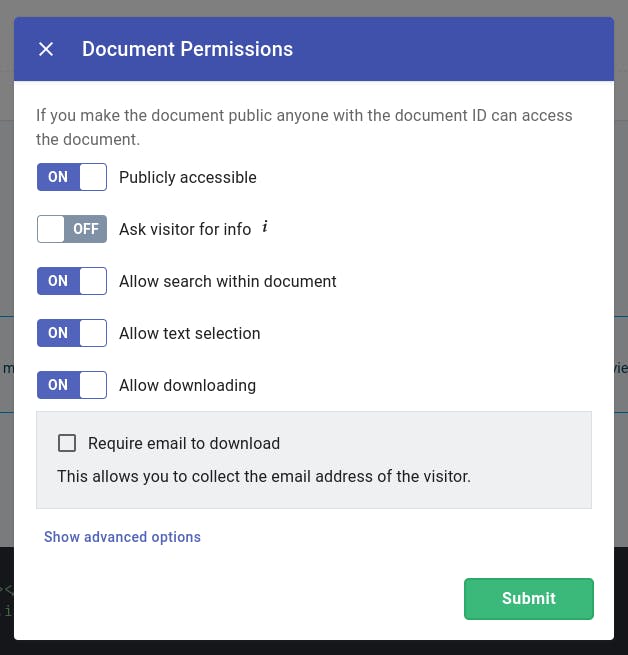
- Now click on the change permission button and make the document public.

- Toggle the publicly accessible button. This will make the PDF document visible to the visitors on your website.
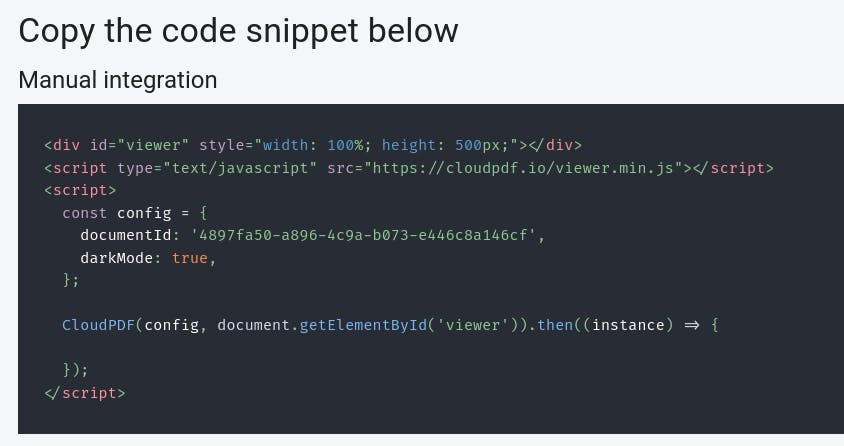
- Copy the HTML snippet. You will use this snippet to display the uploaded PDF document on your Blogger website.
- Log into your Blogger website and click "+ New Post" to create a new post or click on the blog post you want to edit and add the PDF viewer to
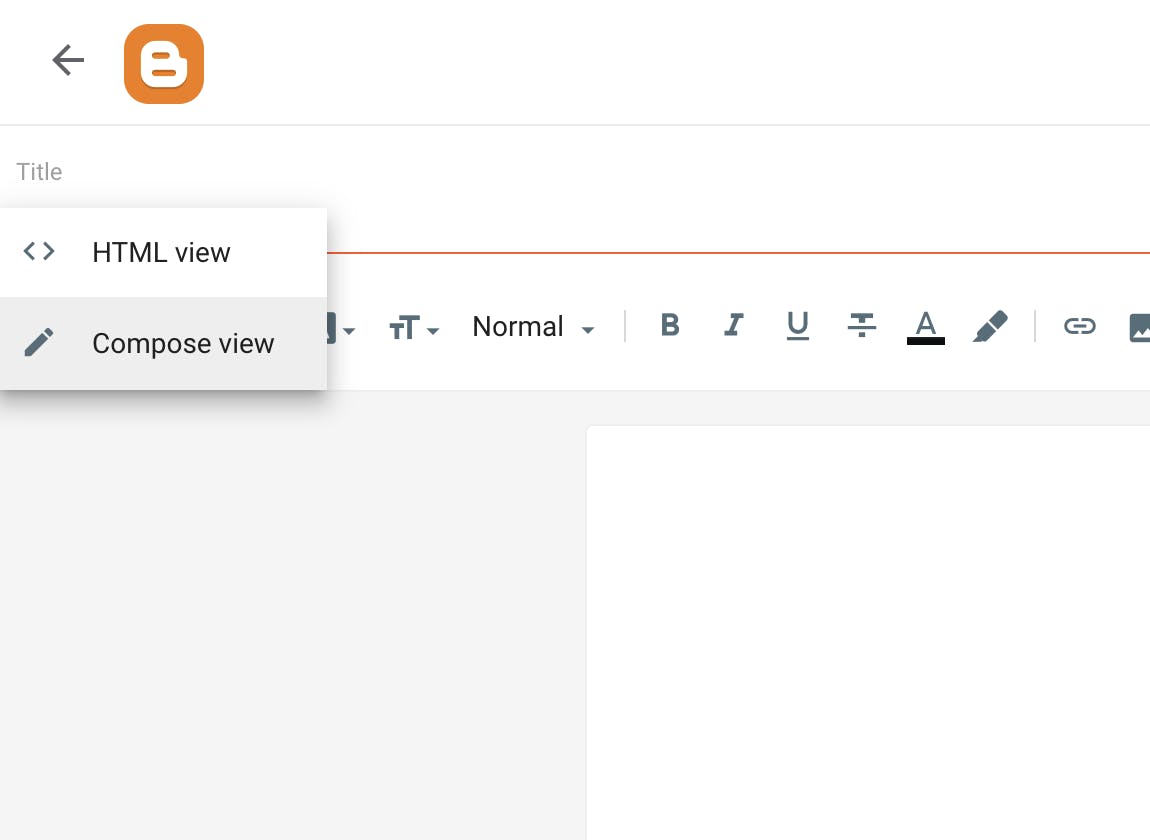
- Click the pencil on the left and change it to "HTML view"
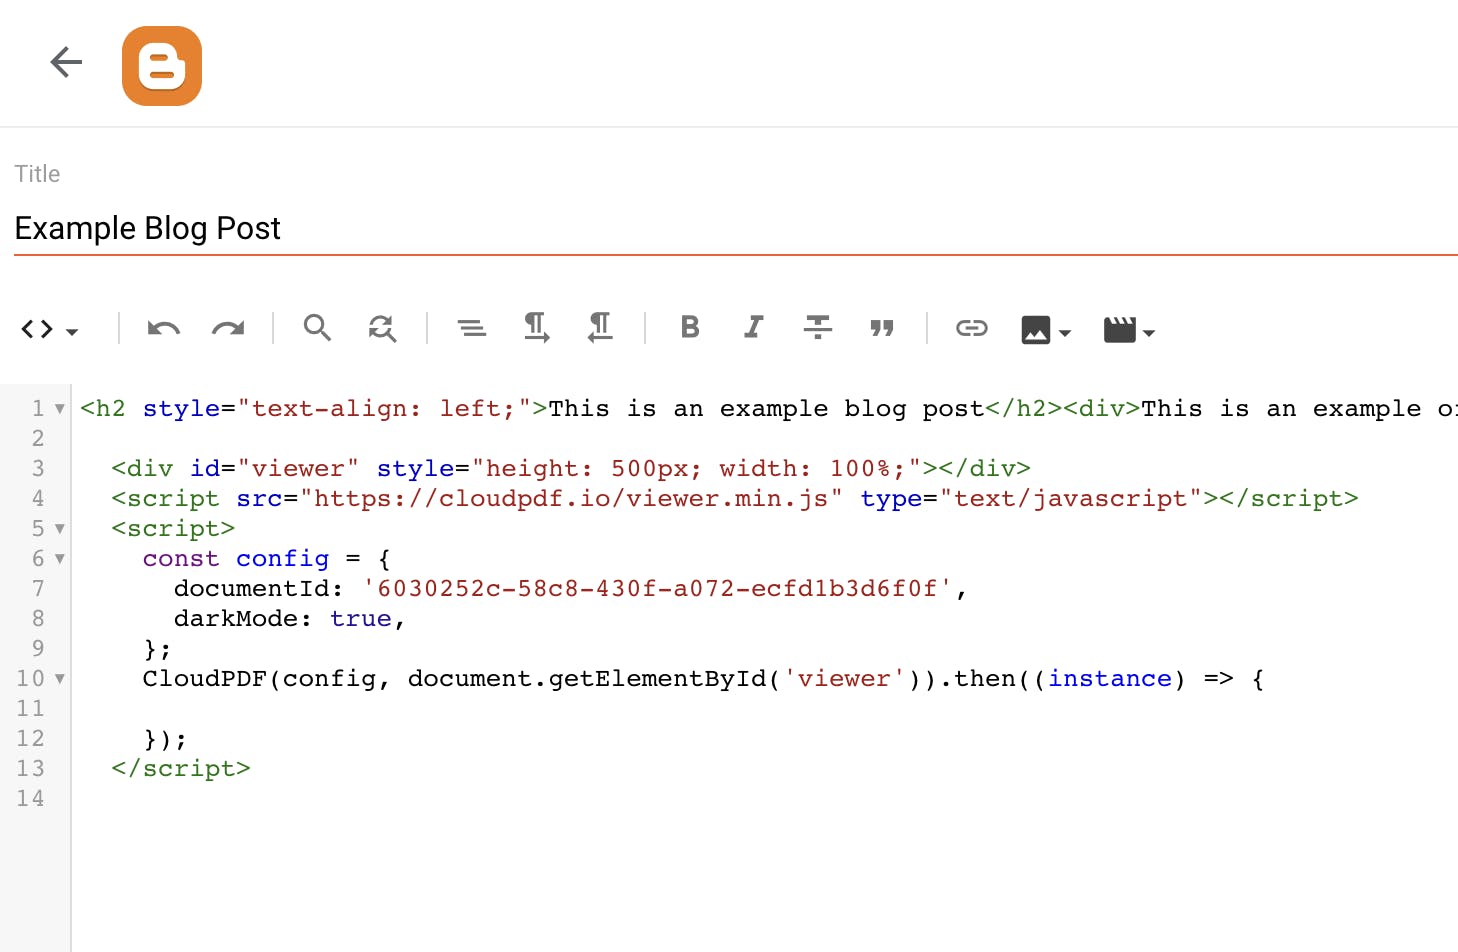
- Paste the code snippet from the CloudPDF dashboard in the "HTML view"
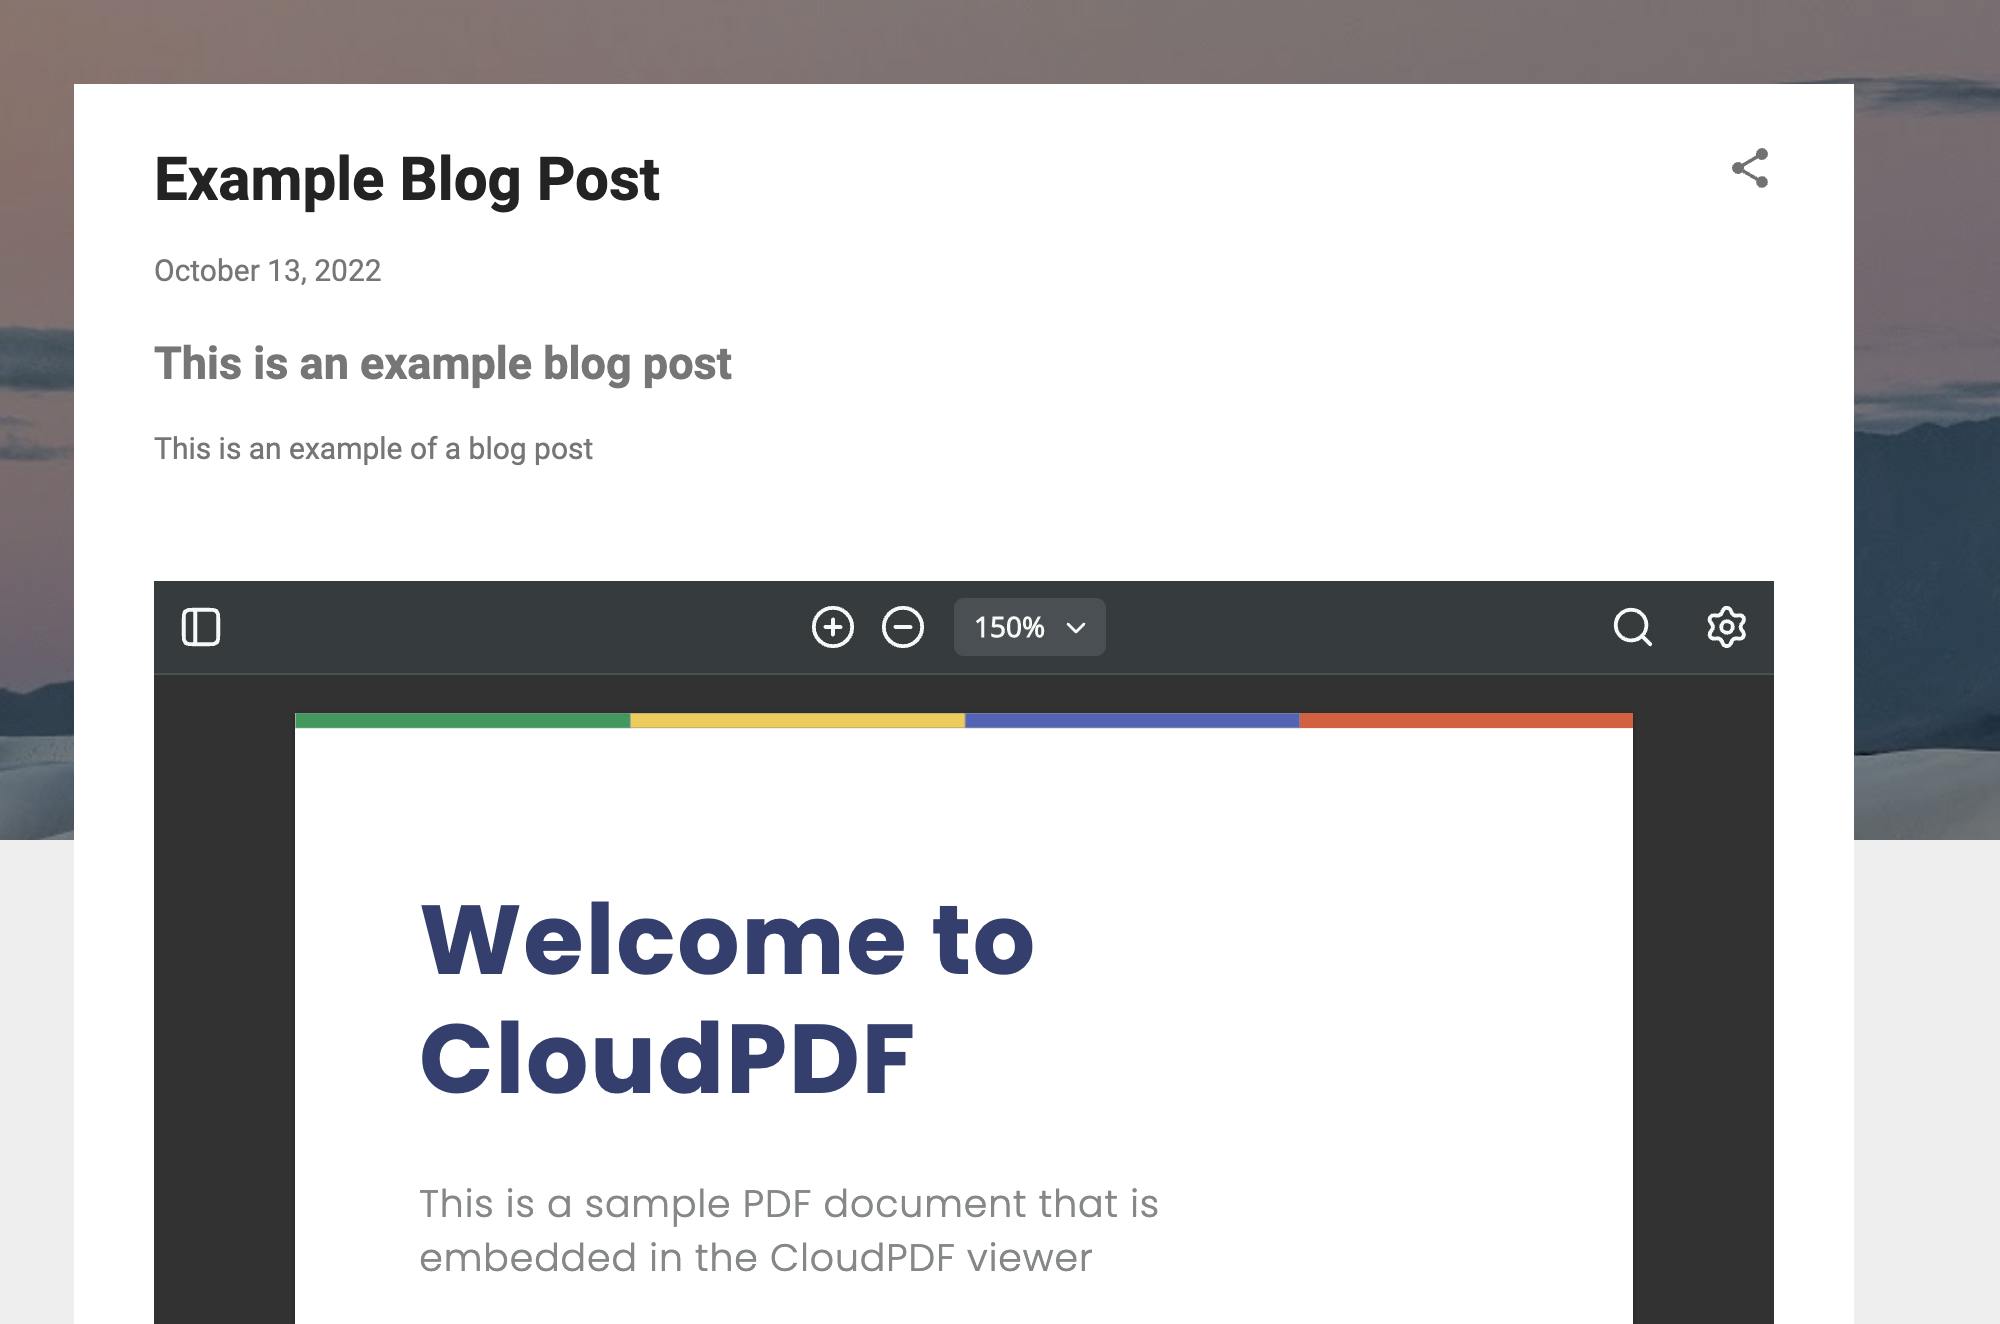
- Click "Preview" to see how the page look. You will see that the CloudPDF viewer is now integrated in your Blogger page
- After you are satisfied with the result you can click the button "Publish" to publish the blog post